Set up your branch
Prepare the workspace, collections, team, and subscriber records.
Each organization is a separate branch or service area. Choose the organization in the sidebar before changing records. A new branch starts with its own subscribers, payments, expenses, support requests, and updates.
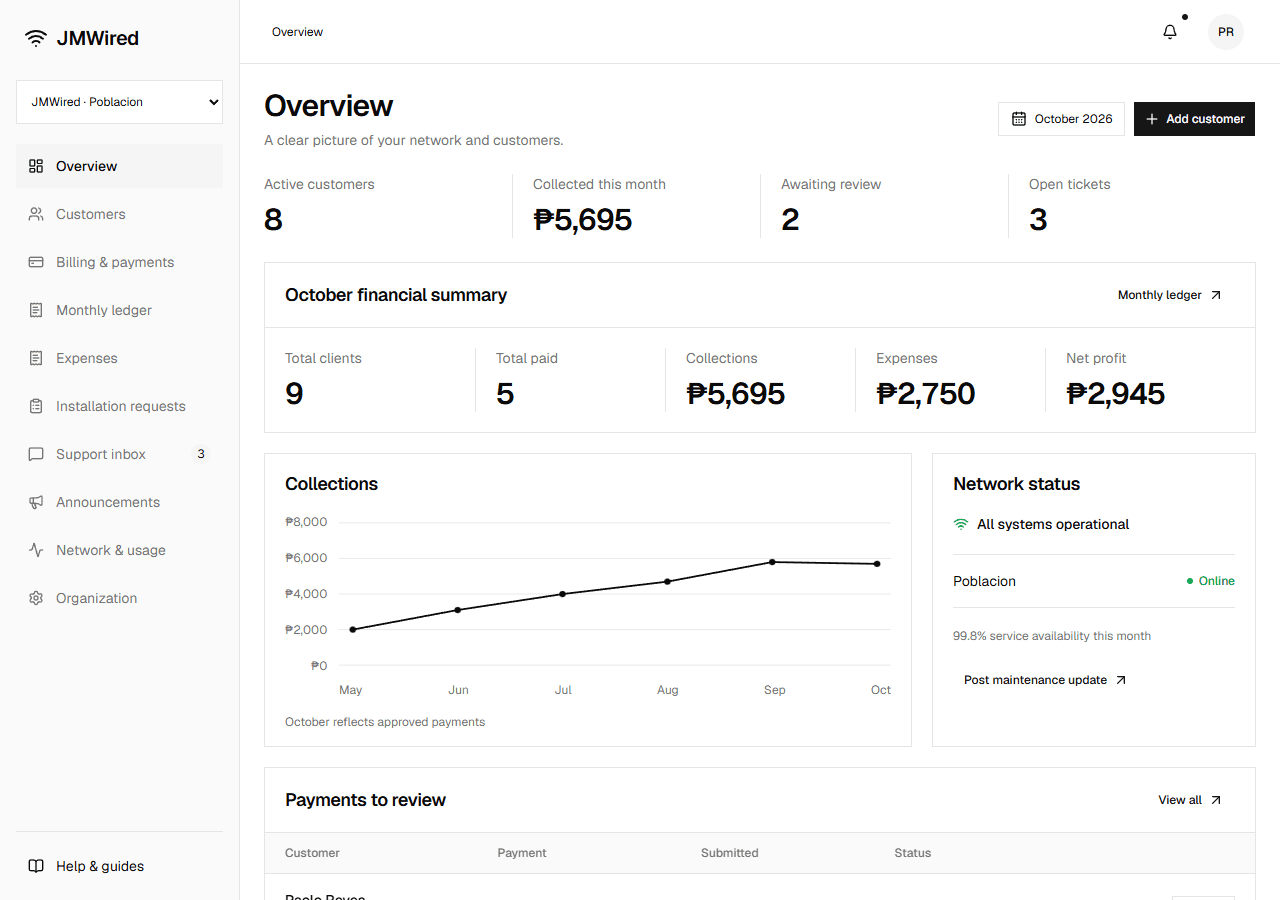
1. Create or select a branch
Open the organization selector and choose + Create organization to add a location. Enter the business name, service area, and a unique workspace address. Select Create organization to open its settings.
For an existing branch, select it from the same selector. Confirm the location shown before continuing.
2. Complete branch details
Open Organization. Add service areas, contact phone, email, and office hours, then select Save workspace details. These details help your team identify the branch and contact information.
3. Prepare collection instructions
Open Billing & payments → Collection QR settings. Configure each method you want customers to see, attach its QR image, enable it, and save it. Follow the QR guide.
In the current preview, use sample images and fictional destination details. Collection-account verification is performed outside the portal.
4. Add your team
Open Organization → Invite member. Enter a name, email, and role. Use Billing for collections, Technician for field work, or Support for conversations. Review all roles.
Invitations remain pending in the preview; email delivery and permission enforcement are awaiting connection. Pending invitees cannot be assigned tickets.
5. Add subscribers or review applications
Use Customers → Add customer for existing subscriptions. Record the plan, billing day, service address, contact details, and installation status. Use Installation requests for new households applying through the public form.
Portal registration is optional. Your team can manage billing and cash collections for a subscriber without an activated portal account.
6. Check the customer experience
Open the top-right user dropdown and choose Customer portal. The preview's Account selector lets you inspect a subscriber in the selected branch. Check the bill, collection instructions, announcements, and support history. This selector is for reviewing sample accounts; live access control is still to be connected.
Keep the branch running
Use Daily branch work for collections, support, and updates. Router readings and device push notifications are separate integration work; their setup status is explained under Network & usage.